If you’re passionate about photography and travel (if you’re there, chances are!), You’ve probably heard about polarizing filters in photography, right?
In fact, you may already know it without realizing it. You have already fallen, on beautiful photos contrasted wish, a blue sky, a reflection of the landscape in the foreground as in a mirror? They used a filter! Wondering what a polarizing filter is for?
This article is the first in a series of three articles dedicated to the polarizing filter in photography. The other two are about how to choose a polarizing filter (and which polarizing filters to choose)? and how to use a polarizing filter?
Also read: Best Ring Lights For Photograph
In my opinion, the polarizing filter is part of photo equipment or photo accessories (with a camera bag, a neutral filter (ND) and a tripod) essential for all those wishing to learn the photo and wishing to focus on digital landscape photography.

The purpose of this article is to explain in detail the usefulness of this filter in photography. In my opinion, all traveling photography enthusiasts, especially those for landscape photography, should get one!
Keep in mind a very important thing, the effect of a polarizing filter can not be reproduced in post-processing (post-production computer). The editing of your photo will be minimal compared to if you photographed the scene without a filter.
Also read : What is a Tilt Shift Lens & How its Works
What Is a Polarizing Filter
Table of Contents
A polarizing filter (also commonly called “pola”), as the name suggests, is a photo filter that you put in front of the optics of your photo lens so as to obtain certain effects when shooting.
In most cases, the polarizing filter is circular (CPL) so as to vary the desired effect expected on the scene that is photographed. You then use the thread of your lens to screw the polarizing filter on (as well as a UV filter for example). Once finished, all you have to do is unscrew the filter, clean it with a cloth and put it away.
Other polarizing filters exist in the form of a square shape. We use these with a filter holder that is placed in front of our photo lens.
You should know that there are polarizing filters for all lenses, whether you are a Canon or Nikon or any other brand of lenses (Sigma, Zeiss, Tamron, etc.). It is the diameter of the lens that will initially determine a first choice (in addition to the quality of the filter, thickness, brand, etc.). Be aware that there are adapter rings to avoid buying multiple filters.
The purpose of the polarizing filter is to vary the light and its power through this filter to your camera lens. Among all the filters that exist, the latter is very useful especially in the middle of the day when natural light can be very strong.

At the bottom of this article, you will find a link to my other article, presenting the different types of filters and especially how to choose a polarizing filter, according to what criteria. The bottom line today is to convince yourself to use a polarizing filter in your photos while traveling and even in everyday life, and how the polarizing filter significantly improves your photos.
Also read: What is a Single Lens Reflex Camera
What does a polarizing filter do
The polarizing filter has many advantages but also some disadvantages to consider and know when buying but especially its use.
I mention here in this paragraph all the advantages of the use of a polarizing filter. This should allow you to understand what a polarizing filter is and how you can make better photos with!
Also read: Why should we shoot in RAW format?
1 – Breaking the colors :
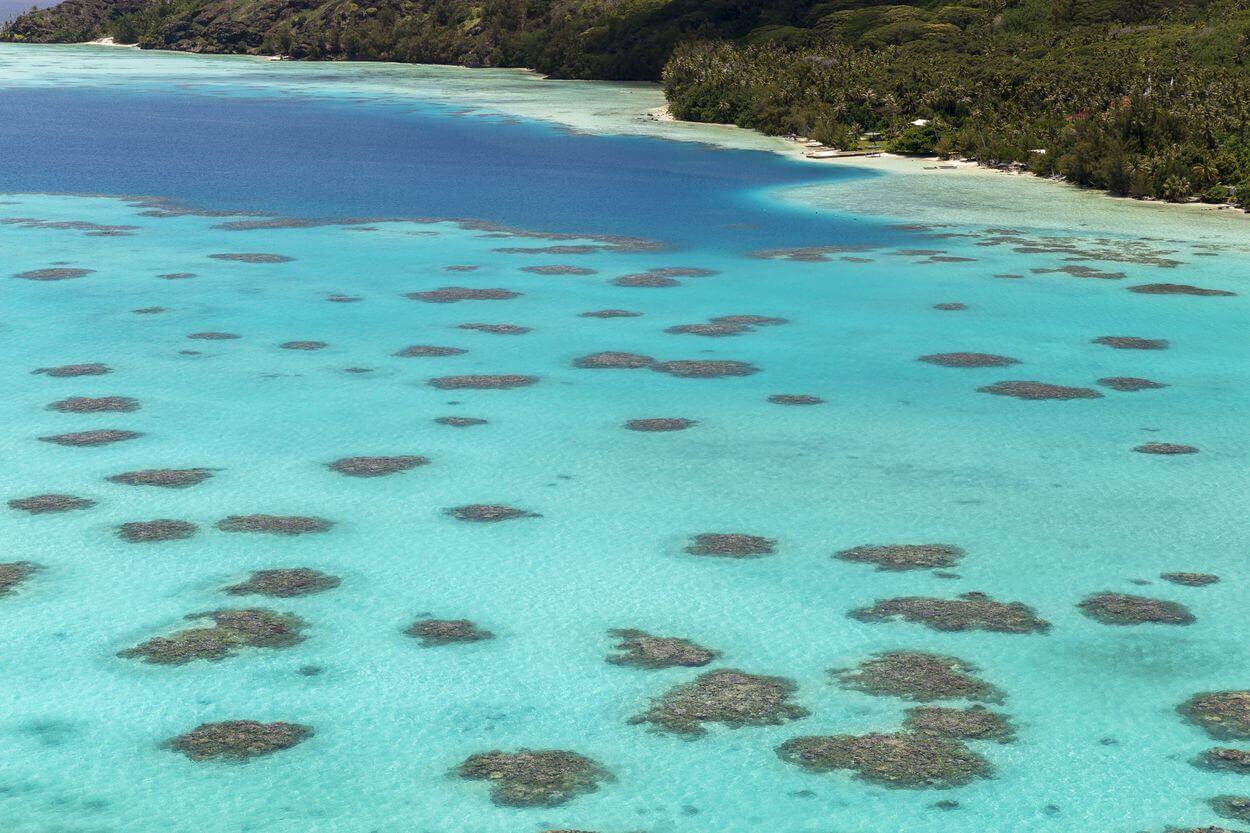
if I had to answer the question “what is the use of a polarizing filter”, this is one of the first points I will answer, highlight the colors. Indeed, this last one makes it possible to increase all the contrasts of a scene and to saturate your colors in a clear way. This is particularly true and visible on scenes at sea, mountain, waterfall, with big skies, etc. With the attenuation of the reflections (see their suppression), the colors are very largely amplified on the photo. The saturation of the scene then allows exploding your blue sky, the color of your lagoon, or the green of the leaves of the trees.
In general, the polarizing filter is widely used to make your skies bluer and increase contrasts and volumes in the skies.

2 – Remove reflections:
this is the second very good point to use a polarizing filter. Sometimes we talk about anti-reflection filter. That’s one of the reasons I bought my two filters personally. So what reflections are we talking about here:
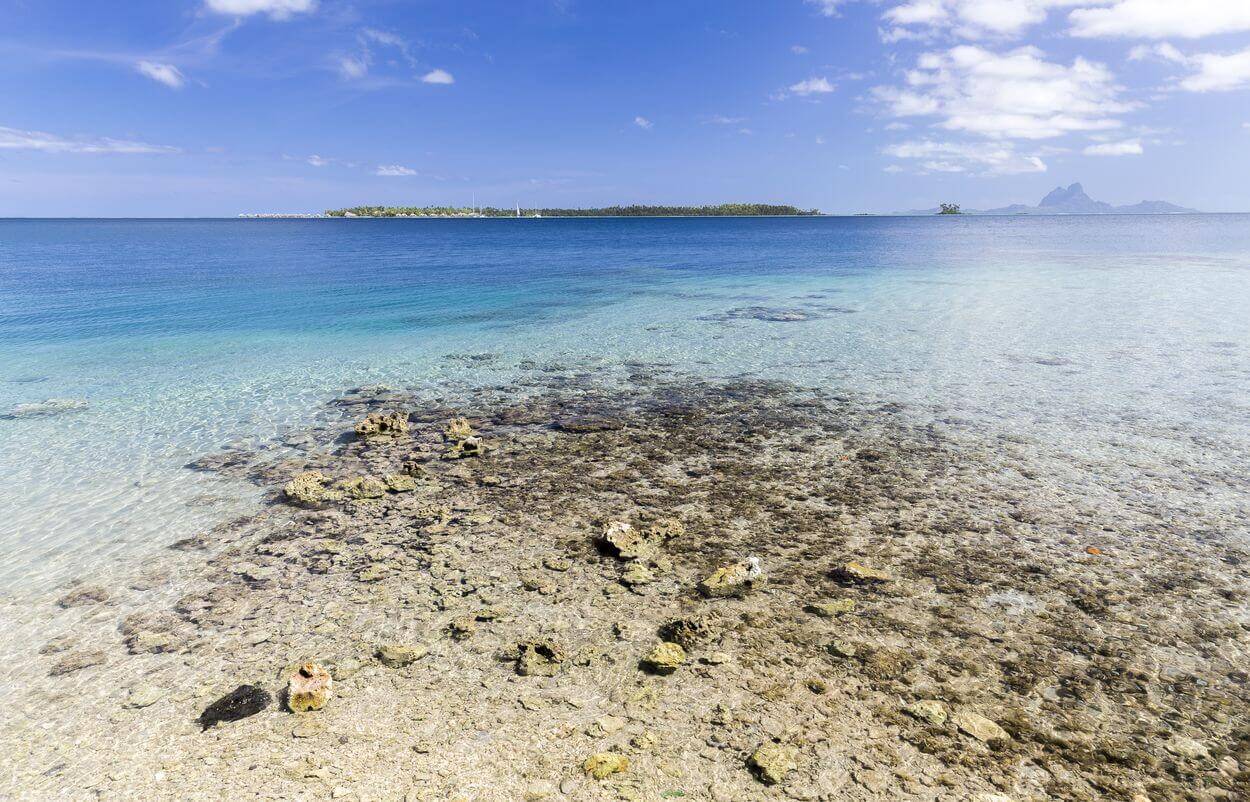
Remove or reduce reflections on water: this is the most obvious and most visible (when rotating the filter) when using a polarizing filter. Depending on the time of shooting (even more in daylight), scenes of landscapes including water are particularly subject to reflections.
Whether in the river, at sea or on the ice, the polarizing filter can reduce or eliminate all the reflections of a scene. Still doubting its use? Look at the pictures below without and with polarizing, bluffing no?
You can notice on the picture with the filter, how the lagoon and its color is much better than in the photo without filter where the sun is completely reflected!
Also, note that the photo is slightly darker with the polarizing filter.
The latter has a tendency to slightly darken the scene, the filter being very slightly opaque in reality (but let’s pass the vast majority of the light source). When the light conditions are low, the polarizing filter will, therefore, tend to reduce the shutter speed of the shooting (slower speed).
The effects are very widely visible especially in the tropics where reflections on turquoise water and lagoons can spoil a photo and not make all the beauty of the scene! Try to photograph a beautiful blue as I speak without a polarizing filter, your travel photos will be dull.

Remove reflections on buildings (street photography): street photographers, especially architecture, will not question what a polarizing filter is used for. For the majority, this filter is permanently screwed on their lens. In the same way as on the water, the reflections on the glass or glazed buildings, in steel/iron, will be attenuated or deleted. The rendering is very much improved!

Removing reflections in macro photography: one of the other positive aspects for those who practice macro photography (animal or vegetation detail for example). In the same way as at sea, river or on buildings, the reflections are removed on foliage or on the carapaces of the beasts that you take in photos. This is also the interest of a polarizing filter.
Remove reflections in the eyes (in portrait): this is one of the least interesting points I find for portrait photographers. Reflections on the subject’s eyes can be removed!
3 – Removes the atmospheric veil:
it may be detailed for some, but in reality for landscape photographers, this is a point that can make your photo flat, lack of contrast and volume. This is particularly visible by plane. Those who have already tried to take pictures through a porthole know what I am talking about.
The effects of reflections from the window and the sail visible at high altitude are removed. As a general rule, as soon as you have some fog or sailing (in the mountains for example), the polarizer can serve you!

4 – Help for long poses:
This is not the primary purpose of a polarizing filter, but it absorbs brightness. It may be interesting to use it then if you want to slow down your exposure time (for a long exposure for example) and you do not have a filter ND (neutral density filter) available. The polarizing filter, in addition to removing reflections, will make you expose the scene slightly longer (due to its opacity).
5 – Protection of your optics:
this is the last positive point in my opinion. It can indeed protect the optics of your lens from dust and dirt, and even more in case of falls! The filter will play a protective role and it is still better to break a polarizing filter to 100 $ than a goal to 1000 $, we agree not?
Well, I hope I’ve convinced you what a polarizing filter is, right? You do not have to be a professional photographer for years to understand how it works. Any amateur photographer can use the filter quite simply.
Also read: Outdoor Photography
When to use a polarization filter
A polarization filter is used to filter reflections and shimmers. For example, the filter helps you take pictures at sea. In addition, the filter ensures sharper contrast and brighter colors in your photo. A polarization filter makes it possible to reinforce the intensity of the blue and green colors. The sea and the sky become bluer and the tropical trees greener. It is, therefore, a very practical tool for taking holiday pictures.
With everything we’ve seen so far about polarizing filters, we can conclude that they:
- Reduce reflections on several surfaces
- Eliminate excess brightness
- They generate more vivid colors
- Create greater contrast
- They allow you to alter the scene as you want (remember that you adjust the degree of polarization when you rotate the filter)
- Reduce the amount of light entering the camera
With this in mind, check out the different situations in which you could take advantage of a polarizing filter:
Also read : What is Spherical Aberration
How does a polarizing filter work
Attach the polarization filter to your lens with a rotating system. When buying a polarization filter, take a good look at the format of your lens. Use a reduction ring to place the filter on a different sized lens. Once you have mounted the polarization filter on your lens, turn the front ring to determine the desired effect. By turning, you will see that the image or part of the image becomes darker or lighter.
Also read: Best Cameras For Landscape Photography
The disadvantages of the polarizing filter
But the polarizing filter and its use also have some disadvantages, not prohibitive for purchase, but to know when it is used!
- The loss of luminosity: it is important to note that with the presence of a polarizing filter in front of a photo lens, a loss of one to two diaphragms is admitted. I will do specific articles on the subject, but concretely, that means that with the screw filter, you have less light that goes to the sensor of your device and you see a slight darkening of the scene. The scenes will be darker with the filter. To compensate for this loss of brightness, you will be forced to take less rapid pictures (lower speed). In summary, there is, therefore, a loss of light that has repercussions in terms of speed when shooting. This is a point to know, especially in moments of low light where you are sometimes already limited in speed to get a clear picture.
- The difficulty of handling with a sun visor: it is one of the pesky points with a polarizing filter. Keep in mind that in the vast majority of cases, its use is made complicated or impossible with a sun visor. The size of the sun visor, and especially its depth makes impossible access to filters. This is my case for example when I use my polarizing filter.
- Vignetting at certain focal lengths: an element to take into account when using a polarizing filter is the effects of vignetting on the edges of the image when shooting. Indeed, the more you will use wide-angle lenses (GA) or Ultra Wide Angle (UGA), the more you will feel the effects of vignetting on the edges of photos. It will, therefore, be particularly important to pay attention to this element when buying its polarizing filter. I will come back to this in the article on how to choose a polarizing filter. It is better in all cases or almost targets a Slim filter (end).
- Another aspect to keep in mind with a wide-angle lens is the variation in brightness on the stage. You will not have this problem with the longest focal lengths.
- Variation in brightness: As explained above, with wide-angle lenses, you will, for example, have large areas of the sky. The polarization will therefore not be uniform in the center and on the edges of the image (due to your orientation with respect to the sun and the very wide field of view of the lens),
- The cost: I finish this article on this point. Some polarizing filters of good quality will not be given, and you will have to pay a small sum during your purchase! In my backpack, for example, I have my 24-70mm f / 2.8 canon lens that has a large diameter of 82mm. The more it will be wide, the more the filter will be expensive. I advise to think about it but especially not to buy a polarizing filter of poor quality or low-end. It is better to put a little more and be happy. See this as an investment.

Conclusion
Here, I hope for this overview of the advantages and disadvantages of this type of filter. I hope now that you are convinced that it is a very interesting accessory and that you do not ask the question of what is a polarizing filter? For all landscape photographers and traveling, it is one of the essential accessories for traveling!
Keep in mind one thing, you can not reproduce the same effect as a polarizing filter in post-processing! I do not speak voluntarily in this article of the use of the filter (in daylight, photo techniques namely, the impact of your position in relation to the sun, etc.). This was the subject of a detailed article. I wrote a full article on the photo filter, its usefulness, its choices, and its use. If you’re new to photography and would like to know more about filters, this is the perfect article.
To continue reading, I invite you to read the detailed article to learn how to choose your polarizing filter! All questions about size, diameter, thickness, marks are discussed in the article.
If the article has more, do not hesitate to share it on social networks!
Also read: Types of Photography: A Complete List of Photographic Genres
