If your camera supports placing filters, consider getting a polarizing filter. These are one of the most used filters that we recommend you always carry in your backpack for the results that we will see below.
Polarizing filters change the way we see through the viewfinder and how the camera treats light waves, particularly glare and glare. This ability also changes the intensity of the color that we will see as a result by default.
A good polarizer should not change or add any color and should always be neutral.
Also read: Why should we shoot in RAW format?
In the market, there are two types of polarizing filters: The circular ones that are screwed to the front of the lens and the squares that are placed in a Cokin filter holder.
Also read: Types of Photography: A Complete List of Photographic Genres
How To Use a Polarizing Filter
To use them and see that their effect is more noticeable we will need to rotate one of its two rings about 90º and have the sun at about 37º above the horizon, because at noon or late in the afternoon, the effect is minimized or null. Nor will we see any effect by placing the sun behind or in front of our frame.
To avoid an uneven effect in the sky we recommend using objectives, not too angular, that are more than 24mm, otherwise, we can see how three areas of different intensity in the sky, giving an unnatural result.

The main effects can be seen in:
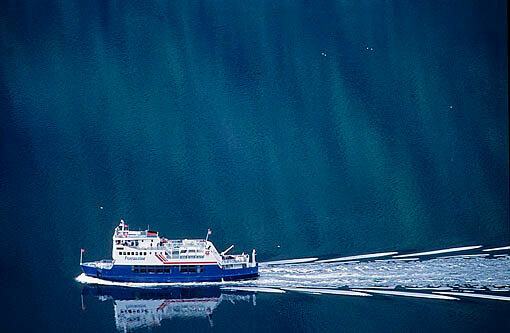
Water : Placed the polarizer and rotated properly we can see the water in a different way, without glare or sparkle giving in many cases greater clarity, without reflections and accentuated color. In these cases, we suggest making previous adjustments because if we turn around we can make the reflections completely eliminated and any object that is in the water will seem as if it is stuck digitally or floating on a black surface.
Also read : What is Spherical Aberration
Sky:
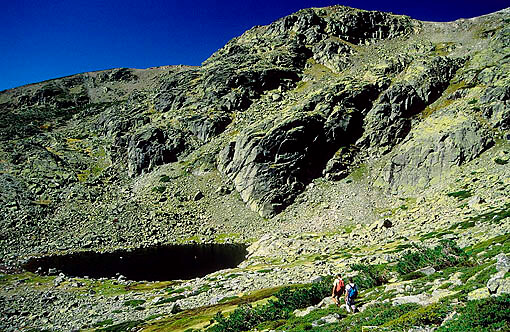
The effect will be more noticeable to the naked eye. Simply place the polarizer in front of our eyes about 90º from where the sun is located and we turn the filter. We will see how a clear blue sky becomes an intense cobalt blue, with more or less intensity depending on the position of the sun. If we take into account that at a certain altitude above 2500mts, the blue will become darker and may become black the higher we are.
Also read: Types of Photography: A Complete List of Photographic Genres
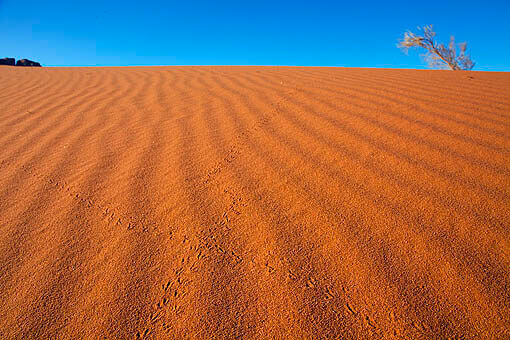
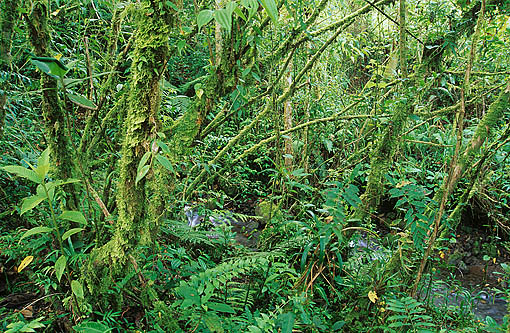
Color : It will also be “improved” because as the reflections decrease, the colors gain intensity. A more than noticeable effect when photographing a landscape or plants where the greenery will gain saturation.
Also read: What is a Single Lens Reflex Camera
Reflections :
With the help of this filter, photographing through glass will be an easier task because it prevents us from seeing ourselves and all or part of what we have behind.
Additional benefits. The polarizing filter also helps to protect the front lens of the lens so it does not hurt to wear it if we do not have another filter such as a UV or Skylight.
A disadvantage or window is that depending on the angle that the polarizer rings are rotated we will lose between one and two light diaphragms. So it will often be necessary to use a tripod, and increase exposure or raise the camera’s ISO. It has an advantage if we want to reduce the light intensity and we don’t have another filter, such as an ND (Neutral Density) at hand. For example, it will not be the same to take a photo of a waterfall at 1/60 af / 16 ISO 100 than to place a polarizer, rotate it and be able to photograph the water from it, with a “silky” aspect at 1/15 af / 16.
If it will be an inconvenience for those who do not have a camera where the polarizer can be attached, such as compact cameras. In that case, we can take a polarizing filter, look through it and turn it until we see the result we like and without turning it, place it with your hand gently on the front of the lens while the exposure is taking place. In this case, a tripod will be of great help.
If we take into account that the effect of the polarizer will not be effective on cloudy days or in low light, we do not recommend its use.
Also read : Best Cameras for Street Photography
Choose a polarizing filter.
The most common filters are usually of the “circular” type for DSLR cameras and are adjusted by a thread to the front of the lens such as the Hoya, B + W, Heliopan, Nisi, others.
There are also polarizers that fit inside the filter holder such as Lucroit, Nisi or Cokin system but in all cases, we must choose the appropriate model that fits the objective as there are several diameters available in the market. To be sure of the diameter you need, look at the front of the lens or the lens cover or in its instruction manual.
Also read : What is a Tilt Shift Lens & How its Works
Perfect situations to use a polarizer:
On sunny days both on the beach or in the mountains, perfect for photographing landscapes. The frame where we have reflections such as when photographing a car, or through glass such as an aquarium.
It is also perfect for photographing rainbows because it helps to give more intensity to the colors.
Also read: Best Cameras For Landscape Photography
Suggestion:
We do not recommend you buy cheap polarizers made with flimsy aluminum rings that make the lenses lose in the long run and makes it difficult to unscrew them from the lens. Nor are they usually Multi-Coated, (special Multi-Layer coating) which does not help to get the most out of the polarizers.
Also read : Best Canon Camera For Bird Photography
