Long exposure photography is probably one of the most popular technical pictures from nature photographers. And that can very well be explained!
The long exposure is part of these techniques that can bring another dimension to a photo and attract the eye. An ordinary landscape can take on a whole new face when photographed in long exposure.
In this article, I suggest you discover 5 essential steps to start well in long exposure. We will see what subjects are suitable for long exposure, how to lengthen the exposure time and what are the important points to take into account to make the success of your photos.
Also read: Best Cameras For Landscape Photography
Long Exposure Photography in 5 Steps
Table of Contents
1- Find the “good” subject
Before you even begin to adjust your camera, the first step is to find a subject that lends itself to long exposure. It may sound obvious, but it’s always good to remember!
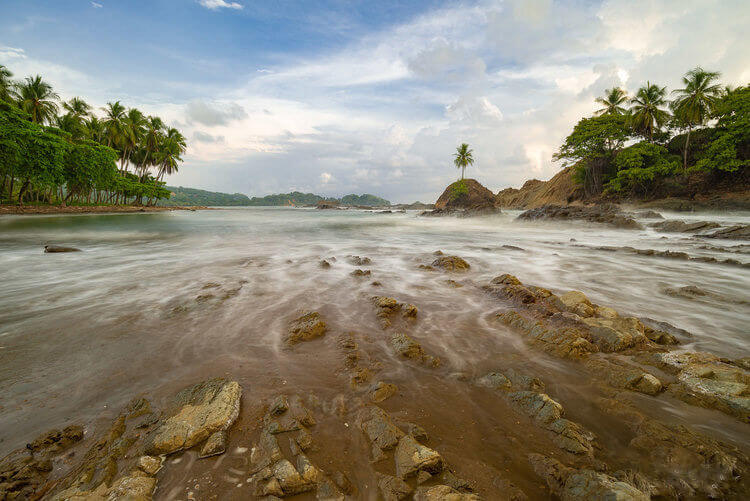
The best subjects are those that present movement: the water of a waterfall, a river or the sea, the clouds in the sky, the headlights of cars in the night, etc.
Why choose a subject with movement? Simply because the sensor will record its movement and produce this particular rendering that characterizes the long exposure.
Also read: Best Cameras for Street Photography
2- Treat the Composition
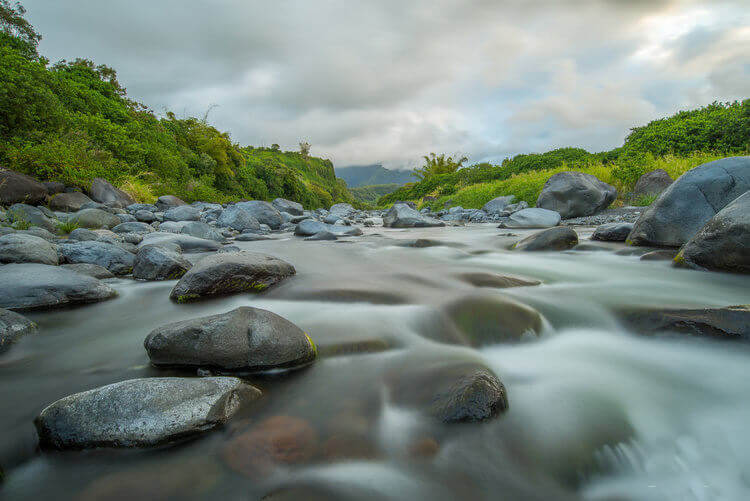
The long exposure can give a magical side to an ordinary scene, but that’s not a reason to botch your job! Particular care must be taken in the composition. This remains true for any photo, regardless of the technique used.
Once the subject is identified, do not permanently install your material in the first place. Move around and explore the environment for the best angle. If necessary, take some pictures to get a first look at your composition.
Also read: Types of Photography: A Complete List of Photographic Genres
3- Lengthen the exposure time
As the name suggests, a long exposure is to expose the sensor of the camera longer than for a “classic” shooting. To achieve this, we must play on the exposure time.
To obtain a longer exposure time, the photographer has several strings to his bow. The first is to use a small aperture, that is, to “close” the diaphragm in the lens to let in less light. As the amount of light that reaches the sensor is less important, the camera will compensate by using a longer exposure time.
But (because there is a “but”) this method is not miraculous. It does not work all the time. It is only possible when the brightness is not too important.
Closing the diaphragm in the middle of the day will not help much: the exposure time will always be too short. Unless the sky is very overcast, this method only bears fruit at the beginning or end of the day when the brightness is already quite reduced.

An ND64 filter makes it possible to use an exposure time that is 64 times longer.
That’s why there are accessories to get around this limit. If you want more room to maneuver and be less dependent on external conditions, simply position an optical filter in front of your lens.
The ND filters are commonly used: they block some of the light that enters the lens, which results extend the exposure time. The most opaque ND filters make it possible to obtain very long exposure times: several tens of seconds, even in the middle of the day!
Also read: Best Ring Lights For Photograph
4- Stabilize the camera
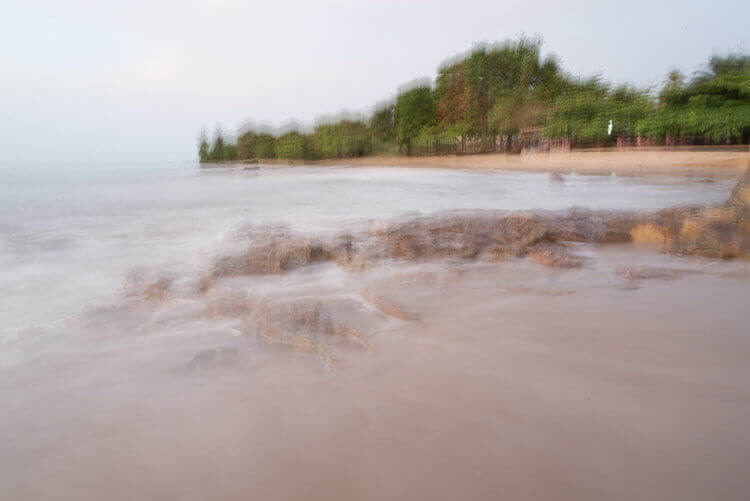
With a long exposure time a new difficulty arises. By photographing freehand, you will not simply record the movement of the subject, you will also record your movements.
This is called camera shake and this results in the appearance of blur on the entire image. Unless you want a particular effect, it’s not usually what you’re looking for…
Stabilizing the camera is an essential prerequisite before you start shooting in long exposure. For this, the must is to use a tripod. The latter offers great versatility because it allows you to position your camera almost anywhere.
If you are not equipped, you can also simply put your camera on a stable surface: a rock, a low wall, a balustrade … You will have less latitude in terms of composition but you will still be able to photograph in the long pose. It’s still the most important!
In a second step, it is often necessary to limit the vibrations generated by the pressure of the finger on the trigger. Several types of remotes exist commercially: some are connected directly to the device with a cable, others are wireless.
Otherwise, the camera’s self – timer will do just fine. The time between finger pressure and photo triggering allows the vibrations to self-dampen.
5- Control the exposure
When trying to make a long exposure, it is not always easy to determine the right exposure. If the exposure time is too short, the image will be underexposed or the effect will not be strong enough. If the exposure time is too long, there is a risk that the image is overexposed or that the highlights are burned down. You must pay particular attention to overexposure if you photograph a clear element such as a waterfall or sky.
With the long exposure, it is necessary to have perfect control of the exposure. To illustrate my point, I propose to look at an example with the two photos below.
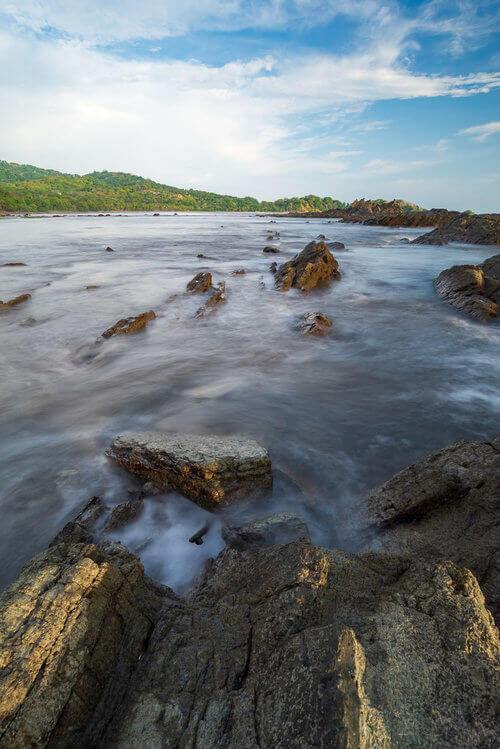
In this first picture, the exhibition is correct. The image is neither too light nor too dark, and the details of the landscape are preserved.
Now, look at the same landscape photographed with a much longer exposure time.
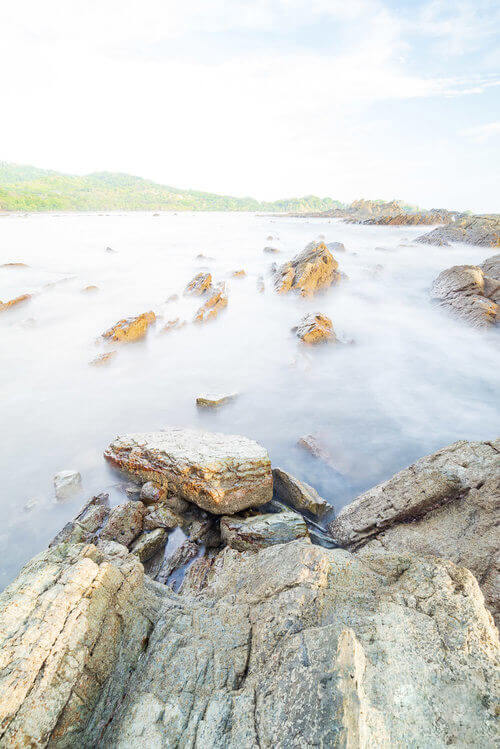
With an exposure time of 20 s, the sensor received too much light. The image is overexposed, and some landscape details are lost.
To adjust the exposure, you can choose between different exposure modes. The semi-automatic modes are very useful since the camera helps you to determine the correct exposure. For example, with Speed Priority Mode (S or Tv depending on the manufacturers), you choose the speed and the camera fits the aperture.
Even if it is a semi-automatic mode, it does not protect you from an exposure problem. Indeed, if you choose a speed too slow, the smallest aperture available on your lens will not be able to compensate for this influx of light. Conversely, if you choose a speed too fast, the larger aperture of your lens will not provide enough light to the sensor.
To find out if you have exceeded the limit, watch for the aperture value in the viewfinder or on the camera screen. If the aperture value flashes, it means that your photo is going to be overexposed or underexposed. You will then need to increase or decrease the speed respectively.
With aperture priority mode (A or Av), the photographer chooses the aperture and the camera adapts the speed. With this mode, there is less chance of encountering an exposure problem. The range of speeds available on a camera (typically 1/4000 s to 30 s) in most cases can prevent overexposure or underexposure.
If you have a little more experience you can also use the manual mode. With this mode, you choose the aperture and speed yourself. This mode offers more freedom but its use is also more perilous. If you’re new, I recommend using the aperture priority mode instead. It is easier to use and it leads to much fewer surprises in the exhibition!
Finally, for the setting of the ISO sensitivity, I advise you to select a low value: 100 or 200 ISO, for example. Since you want to work with slow speeds, there is no reason to make the sensor more sensitive to light than it is natively. If the automatic ISO mode is on, do not forget to deactivate it before making a long exposure.
Conclusion
In conclusion, I draw your attention to the fact that long exposure is anything but an exact science. The movement of the subject but also the brightness are very variable. A setting that is valid in a situation will not necessarily be transposable to a situation that seems similar.
Do not worry if you do not get the right result for the first time. This is perfectly normal! Do several tests and adjust according to the rendering you want.
I hope this article has made you want to practice long exposure or deepen the subject. Is this a technique that interests you? Have you ever tried shooting in long exposure? Did you have difficulties? Feel free to leave a comment!
